We have all become fans of certain kinds of cinema and movies, mainly because their accessibility has become so much easier after the introduction of multiple streaming platforms. And if you have ever watched a film and admired its stunning visuals or felt moved by a powerful scene, you have experienced the magic of film videography.
Film videography is more than just capturing moving images; it is about telling a story through the lens, capturing emotions, making the viewers feel every one of them, and crafting complete cinematic experiences.
Mastering this art can take your projects from good to extraordinary, and that is precisely what we will do in this blog. So, let’s get into the basics and essentials of film videography and explore different cinematic techniques and tips to enhance your shots.
Understanding Film Videography
What is Film Videography?
Film videography is the art and practice of capturing moving images on digital or film media. Unlike other forms of videography, which might focus on simple recording, film videography focuses on creativity, storytelling, and cinematic quality.
Film videography has evolved significantly from the early days of silent films to today’s high-definition digital formats. What started with simple black-and-white footage has grown to immersive experiences with 4K and beyond.
Before we go further, here are some basic terms related to film videography that you should know:
- Framing: It is the way you position your subject within the shot.
- Composition: It means the arrangement of elements in the scene to create a balanced and engaging image.
- Lighting: It is the use of light to set the tone and highlight key aspects of the scene.
Mastering Cinematic Techniques
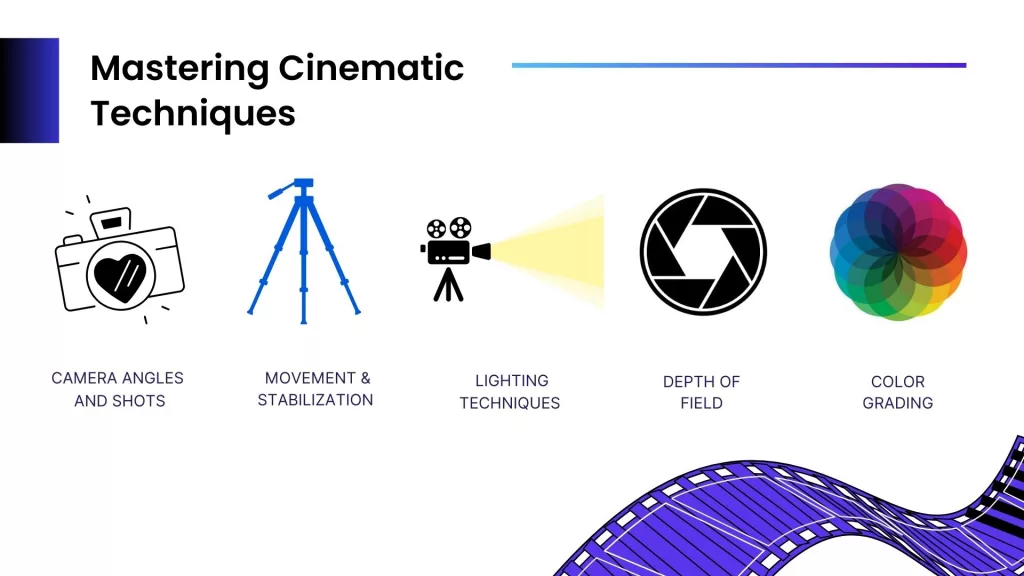
Camera Angles and Shots: The angle and type of shot can significantly impact how a story is told and a film is made:
- Close-Ups: The focus/zoom-ins on details or emotions.
- Wide Shots: Showing the broader context or setting.
- Dutch Angles: Tilting the camera at an angle to add a sense of unease or tension.
Movement and Stabilization: How you move the camera can bring dynamism to your shots:
- Tracking Shots: Follow a subject in motion.
- Panning and Tilting: Adjust the camera angle horizontally or vertically.
- Stabilization: Use tools like gimbals to keep your footage smooth.
Lighting Techniques: Lighting can transform the mood and tone of a scene:
- Three-Point Lighting: Uses key light, fill light, and backlight to create depth.
- Natural Lighting: Utilizes sunlight for a more authentic look.
Depth of Field: Control what is in focus:
- Shallow Depth of Field: Keeps the subject sharp and the background blurred.
- Deep Depth of Field: Keeps everything in focus for a more expansive view.
Color Grading: Enhance your film’s look:
- Basic Color Correction: Adjusts exposure and color balance.
- Creative Color Grading: Sets the mood and style of the film.
Improving Your Shots
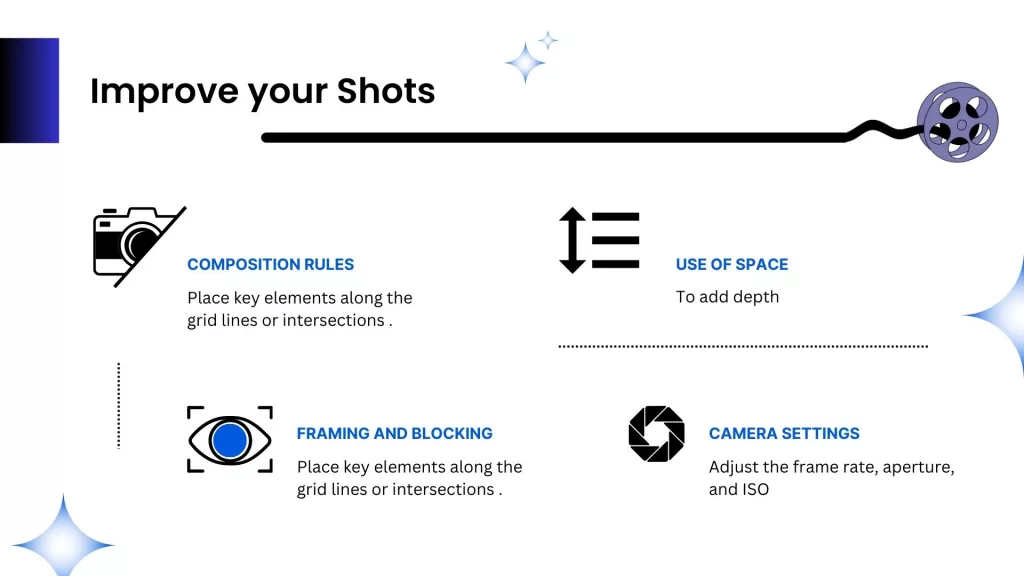
Composition Rules: Use these tips to make your shots visually appealing:
- Rule of Thirds: Divide the frame into a 3×3 grid and place key elements along the lines or intersections.
- Leading Lines: Use lines to guide the viewer’s eye toward the subject.
Framing and Blocking:
- Framing: Make sure your subject is well-positioned and free of distractions.
- Blocking: Plan where actors and objects will be placed in the scene for optimal impact.
Use of Space: Use the space in your frame effectively to enhance storytelling and add depth.
Camera Settings: Adjust settings based on the scene:
- Frame Rate: Determines the smoothness of motion.
- Aperture: Controls the depth of field.
- ISO: Affects the camera’s sensitivity to light.
Common Mistakes and How to Avoid Them
Poor Composition: You must avoid cluttered or unbalanced shots by following composition rules and checking your frame.
Lighting Issues: Make sure your scene is well-lit and avoid harsh shadows or overly bright spots. For this, you can use diffusers and reflectors as needed.
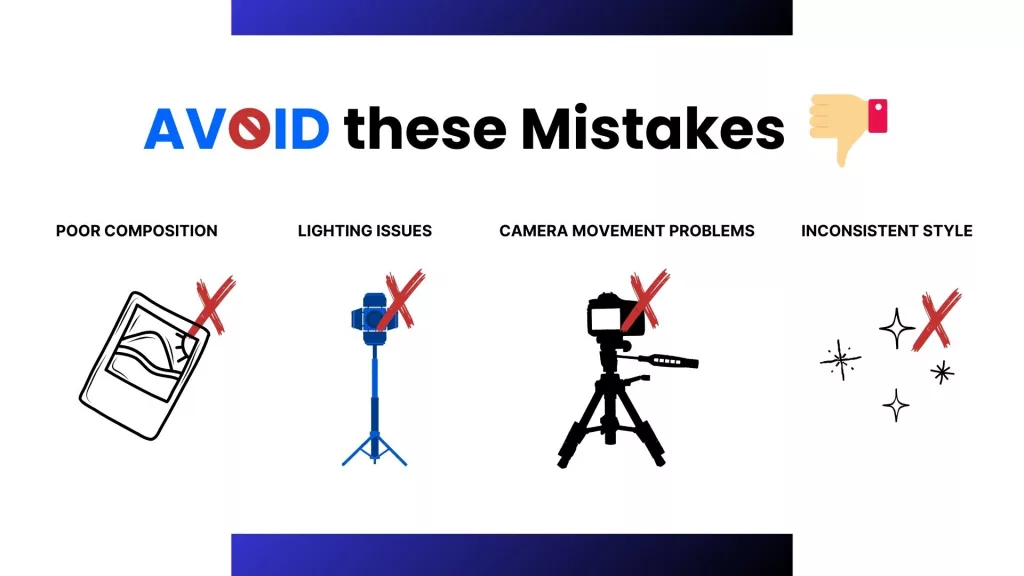
Camera Movement Problems: Keep camera movements smooth and deliberate. Shaky footage can be avoided by using stabilizers.
Inconsistent Style: Maintain a cohesive visual style throughout your film. For that, you need to plan your shots and lighting to match the desired tone and mood.
Tips for Developing Your Style
Experimentation: Are you afraid to try new techniques and styles? Do not be! Experiment with different angles, lighting setups, and editing methods.
Studying Films: Watching and analyzing films from various genres and directors will also help. When you see how they use techniques, you will understand film videography better and be able to apply those lessons to your work.
Practice and Feedback: You need to practice regularly and get feedback from your skilled peers or mentors. This will help you hone your skills. Seek constructive criticism, and when you get it, use it to improve.
Tools and Equipment
Essential Gear: Here is what you need to get started:
- Cameras: Choose one based on your budget and needs while making sure it is of good quality.
- Lenses: You will need different lenses for different effects.
- Tripods and Stabilizers: These will be required to keep your shots steady.
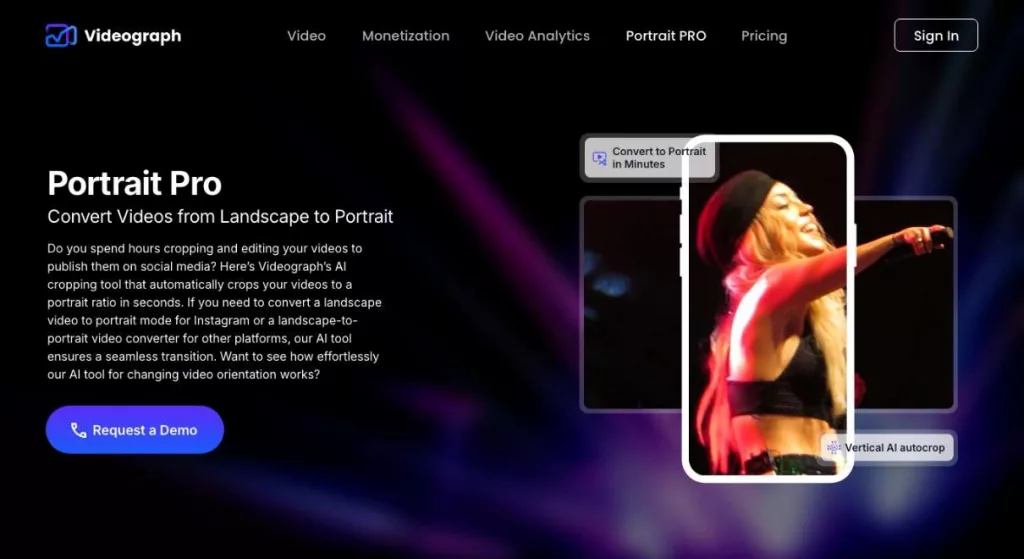
Recommended Tools: Consider investing in editing software like Adobe Premiere Pro or Portrait PRO by Videograph.ai to enhance your post-production process.
Budgeting: You need to plan your budget to get the best equipment within your range. Make sure that you prioritize quality over quantity for lasting results.
Case Studies and Examples
Notable Examples: To see some notable examples, look at films like “Inception” or “The Grand Budapest Hotel.” These films showcase masterful use of cinematography. You can analyze their techniques and think about how to incorporate similar elements into your work.
Success Stories: You can also study successful projects and learn from their techniques. See what worked and how you can apply those strategies to your own films.
In the End
Now that we have discussed the essentials of film videography, from understanding basic concepts to mastering advanced techniques, you must remember that the key to great videography is practice and continuous learning.
Take the tips mentioned above and apply them to your projects. As you experiment and practice, feel free to push the boundaries of your creativity.
FAQs
What is film videography?
Film videography involves capturing moving images with a focus on artistic and cinematic quality. It is about storytelling and creating visual impact.
What are some basic techniques for beginners?
When you are just starting, learn camera angles, basic composition rules, and how to use lighting effectively. You should practice these techniques to build a strong foundation.
How do I choose the right camera for film videography?
Before you choose the right camera for film videography, consider factors like resolution, frame rate, and lens compatibility. And then, you can pick a camera that fits your budget and filming needs.
What are common mistakes in film videography, and how can I avoid them?
You should avoid poor composition, lighting issues, and shaky camera work. To steer clear of these mistakes, plan your shots, use stabilizers, and ensure proper lighting to avoid these mistakes.